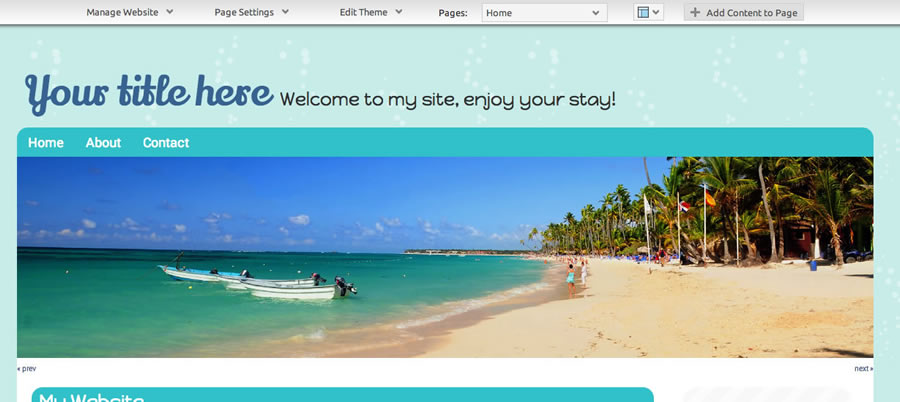
Using an Image Gallery as a header
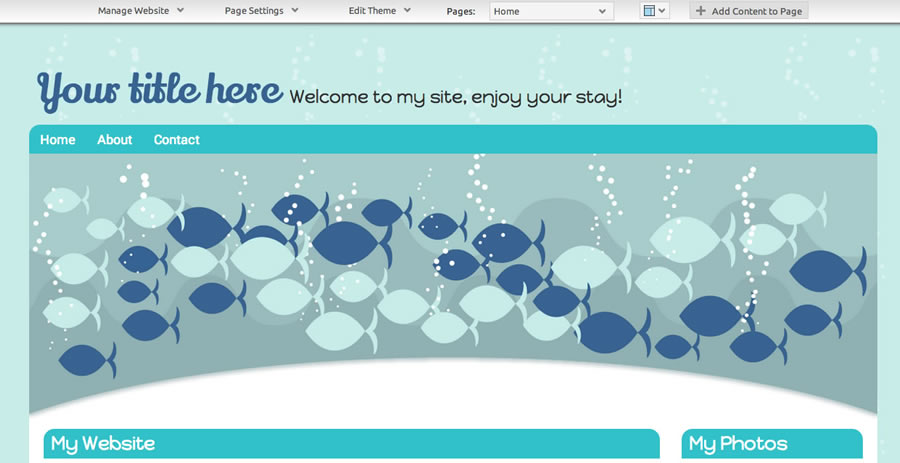
Here we'll help you through the process of using an Image Gallery Component as your theme header image. This can be useful in the carousel view setting with an auto-rotate value set.
Note:
For information about managing your site header settings, see the Header Settings page.
The first thing you need to do is create a location in your header, if one doesn't already exist. The location id should be unique from the others. If you're using a two-column layout, it's likely that you'll be creating a layout with an id of "location_2".
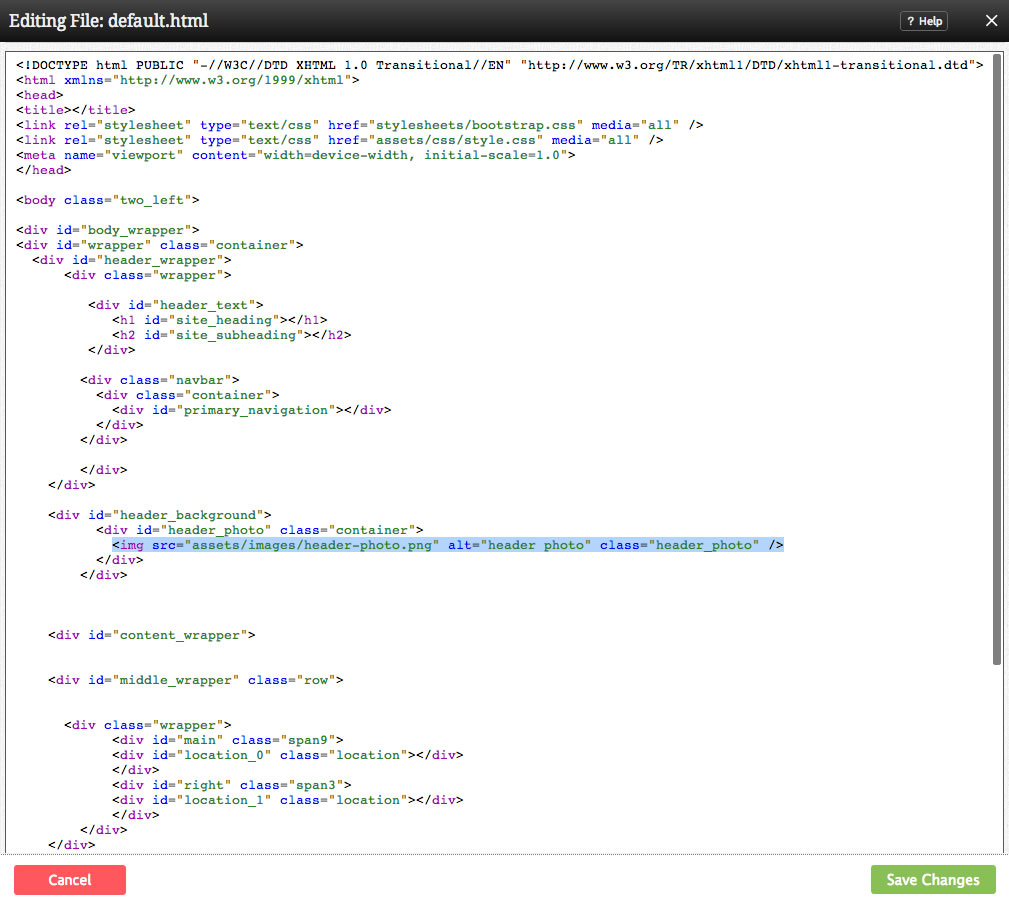
Now we want to modify the HTML in our default.html file (see: Editing Theme Source Code). It will look like this when we start:
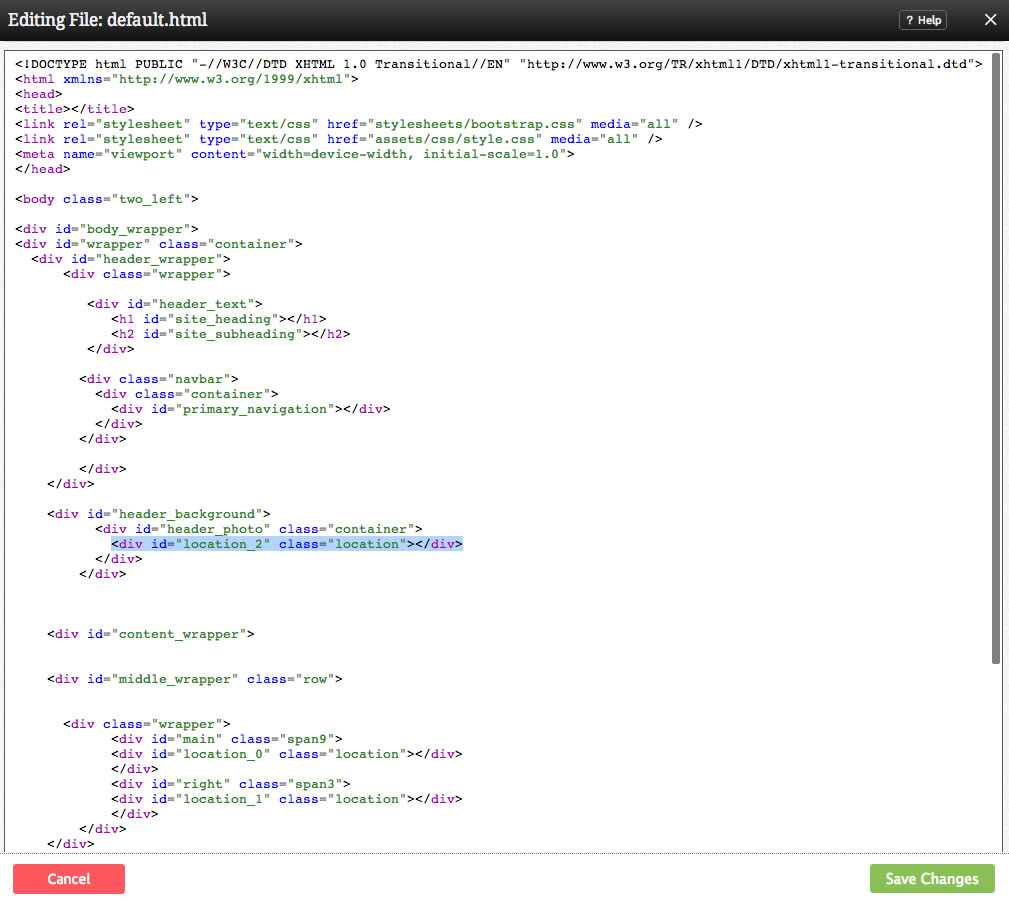
And look like this with our modification:
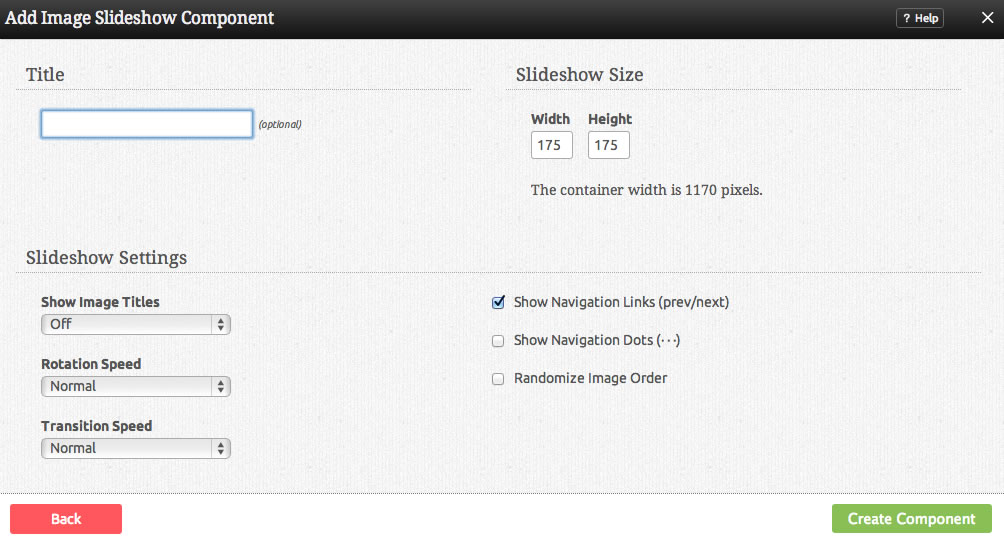
We've added a new location in-place of the existing header image. Now we can add an image gallery to our new location (see: Adding to a Page). Make sure you've added the images you want to use to a folder. That will make it easier for displaying on the the images you want to display in your header (see: File Folders).
Now you have an image rotator in your header! You may need to tweak the styling to have it align and display how you'd like. This will vary from theme-to-theme and by your preference.
Extra Steps
If you want to hide the previous and next buttons, you can very easily hide them with this code. You'll need to adjust the selector to use the correct id for your layout. You'll need to add this to your main CSS file. See: Editing Theme Source Code.
#location_2 .image_gallery_component .carousel_controls { display: none; }

