Uploading Files
Where to Find
This area can be found in the "Upload Photos and Media" section of the "Site Content" area on the Toolbar.
Uploading Files
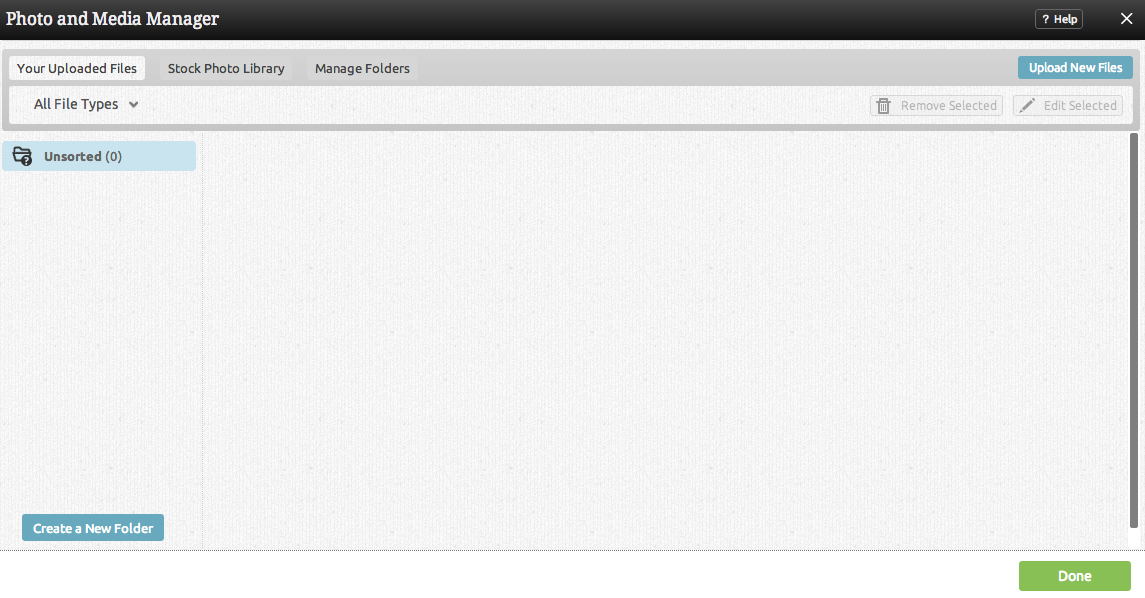
Uploading a file is a quick process. If you have not previously uploaded any files, you should see a window such as the following:
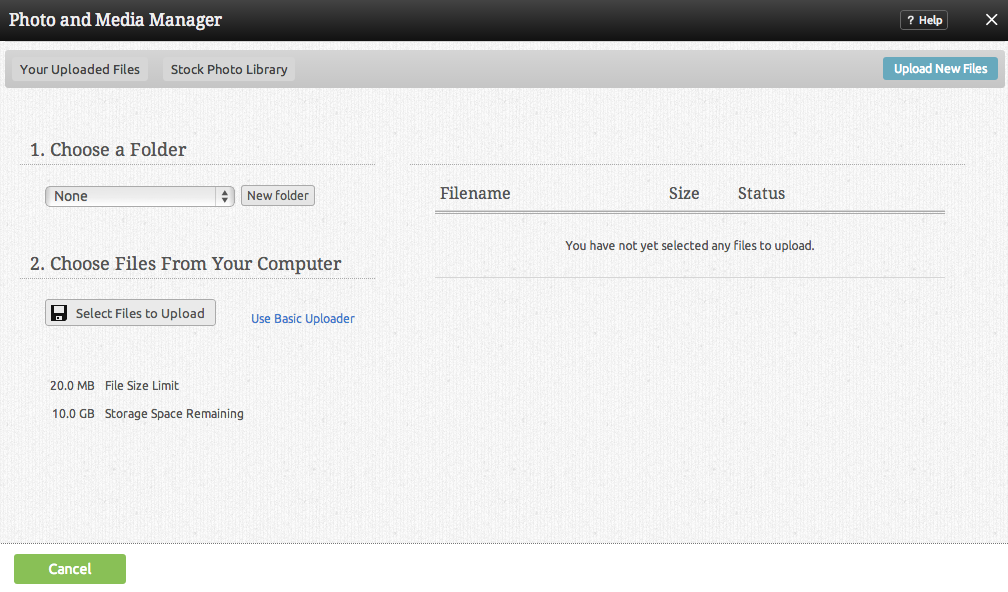
Uploading a file is as simple as clicking on the "Upload New Files" link in the main box, or the "Upload Files" tab at the top.
Note
You can upload files with spaces in the file name, however these will be converted to dashes (-) after uploading. This helps avoid potential problems with URLs.
You can use this area to upload any type of file you want to share with your website visitors.
Clicking the "Add Files" button will allow you to browse files you have locally on your computer to be uploaded. You can continue to add files in this manner until you're ready to upload them to your account.
Files are not added to file folders by default, however you can select the folder you would like to upload to using the Add to Folder dropdown box prior to uploading.
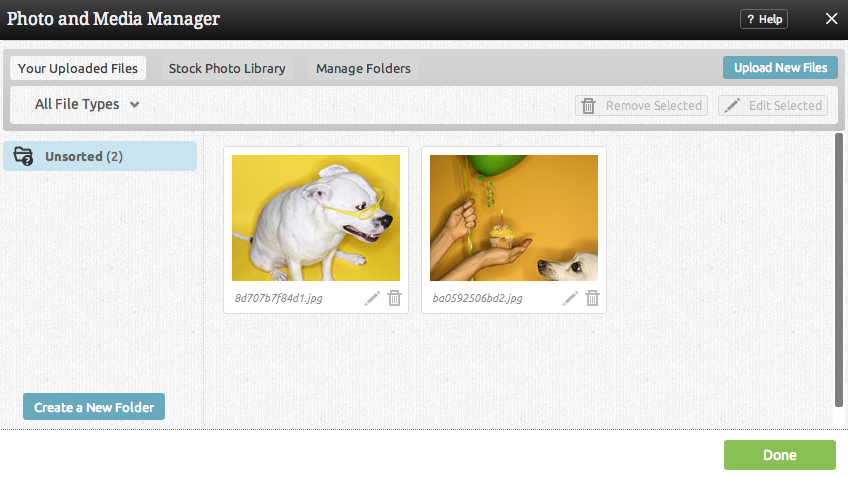
Once you are ready to upload all intended files, simply click on "Upload Files" at the bottom of the page to complete the process. The images will display in order with the most recent at the top of the window.
Note
Files can be removed from the list of files to be uploaded at any time by clicking the ![]() button beside the file.
button beside the file.
You will return to the main File manager with a list of your uploaded files. These files are now ready for use with your website!


