Website Settings
Here you can manage the global settings - basic or advanced - for your website. Hostname Mapping and Linked Accounts can also be managed.
Where to Find:
This area can be found in the "My Website" section of the Toolbar.
Basic Settings:
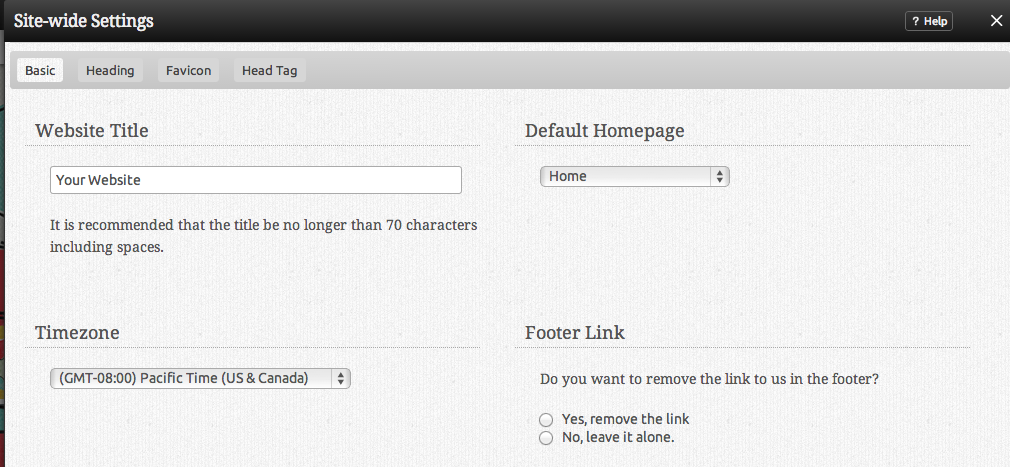
The Default page is the page that you'd like to be displayed first when a visitor types your address.
A Favicon is the small picture that appears to the left of your websites address in your web browser. You can select from a list of preset icons by clicking on "Select Icon", or upload one of your own (file must be a 16x16 pixel .ico file to upload).
Advanced Settings:
The Site Header contains the head element. Elements inside <head> tags can include scripts, instruct the browser where to find stylesheets, provide meta information, and more. This is an extremely useful feature to create site-wide meta information that won't be removed if you change or upload a theme. For example, a description for your site, or keywords search engines can use to better index your site. Of course, keywords and descriptions for a specific page can still be managed in it's Page Settings. For more information about search engine submissions, see the section in our FAQ.
A Sitemap XML file lists the URLs for your website that are most important. This allows search engines to crawl the site more intelligently. These are now auto-discoverable by search engines, which will help your site get indexed better and quicker.
With Code Highlighting, Viviti will automatically color-code any snippets of programming code you include in Blog posts or Custom Content blocks. The Theme you choose here determines the color scheme Viviti will use for highlighting your code.
Linked Accounts:
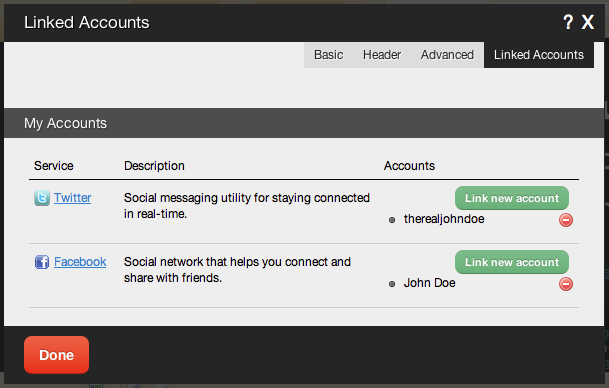
Linking your accounts to us will allow Viviti to access data on the accounts. In some cases this is necessary for the component to display content properly. If the service allows, you can add new accounts here. Accounts can be removed by clicking the File:Deleteicon.PNG icon beside it.
Hostname Mapping:
A complete guide to hostname mapping can be found on it's own page - Hostname Mapping.


